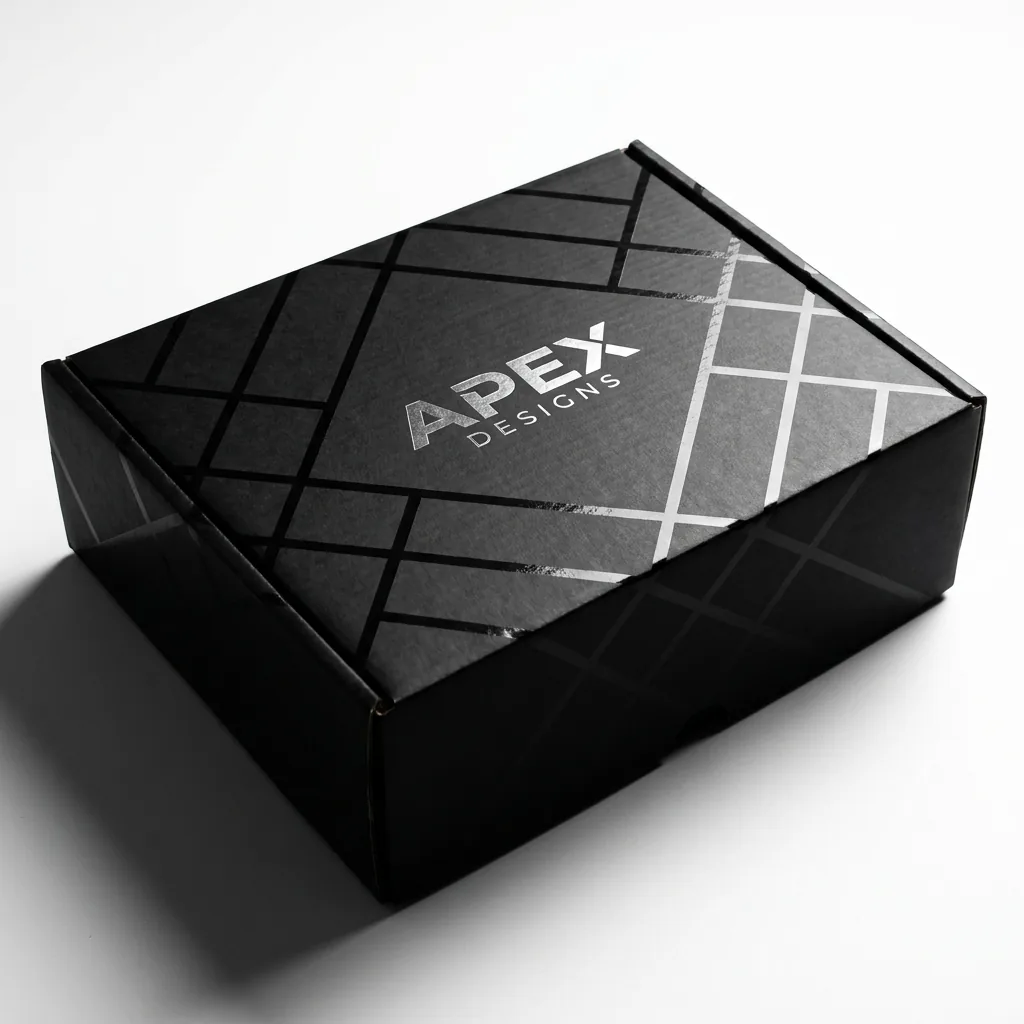
1. Design around product fit and handling
Begin with the dimensions and packed weight of everything that goes inside the box. Include protective wrap, literature and accessories. Too much empty space allows movement; too little clearance can damage the product or prevent the box from closing consistently.
Describe how the package will be handled: retail pickup, subscription fulfillment, courier network or shipment inside an outer carton. A box that performs well as secondary packaging may need a different construction if it becomes the shipping container.
2. Select board and flute for the job
Corrugated board combines liners and a fluted medium. The appropriate construction depends on box size, load, stacking, printing expectations and distribution. Ask the supplier to state the proposed construction rather than using “corrugated cardboard” as the complete material description.
| Priority | Discuss with the supplier | Verify on a sample |
|---|---|---|
| Premium appearance | Liner smoothness, print route and edge presentation | Surface, color and fold appearance |
| Product protection | Board construction, fit and insert | Movement, closure and compression |
| Efficient packing | Dieline, locking sequence and flat delivery | Assembly time and operator errors |
| Lower freight volume | Finished blank and carton layout | Units per export carton |
3. Specify color in a reproducible way
“Dark green” or “warm beige” is open to interpretation. Provide brand references such as approved artwork, Pantone targets when applicable, and a physical reference if color is critical. Ask whether the print process and substrate can reproduce the target consistently.
Printed color is influenced by the liner paper, ink, coating and lighting. Full-coverage dark colors may reveal scuffing or fold stress more readily than lighter graphics. Review these effects on the actual board and finish, not only on a screen.
4. Choose finish for use—not fashion
A coating or lamination can change gloss, color depth, rub resistance and recyclability. Decide which requirement matters most. Specialty foil, spot effects or embossing should be placed with fold lines and tolerances in mind.
5. Check fulfillment and delivery details
Confirm whether boxes arrive flat, the assembly sequence, adhesive requirements, units per carton, carton weight and storage conditions. For high-volume packing, a visually elegant structure can still be a poor choice if it is slow or easy to assemble incorrectly.
If the mailer will enter a courier network without an outer carton, discuss the relevant transport test plan. Testing should reflect product weight, route and failure risks; a generic claim that a box is “shipping safe” is not a substitute.
6. Make sustainability claims specific
Ask what material is used, whether components can be separated and what evidence supports recycled, certified or recyclable claims. Avoid broad environmental language that cannot be connected to the actual delivered specification.
Final selection checklist
Get a structure and material review
Share your product dimensions, quantity, artwork and destination. We can discuss a free sample and respond within two hours with the next questions for your mailer specification.